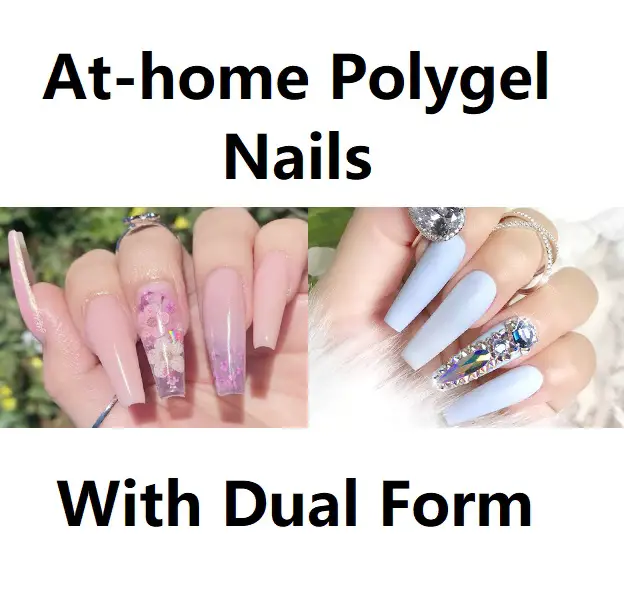
Polygel! This term is too prevalent nowadays. Almost everyone has heard of the practice of nail extension. Polygel is a famous nail solution that is flexible and firm, similar to acrylic and gel nail paint. This manicure requires using an LED nail lamp to cure, which takes longer than putting gel nail polish. However, it provides natural and glossy nails for several days.
Some folks have already given it a shot on their own. And other individuals prefer Polygel but can’t get the confidence to make it at home. It takes a great amount of patience and creativity, and improvisation. So, if you want to apply Polygel correctly, then reading this article will help you do so.
Materials Necessary To Do Polygel Nails
- Kit for Polygel nails
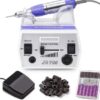
- Buffer and e-file
- A brush for your nails
- A collection of dual forms
- Primer
- Polygel base and topcoat
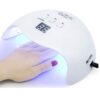
- An LED light
Make Sure Your Nails Are Ready
The preparation of the nails is the first stage in putting Polygel nails with dual forms. Because Polygel nails are a long-term nail extension, nails must be prepped before application. It improves the Polygel’s durability. Start by shaping your nails with a fingernail cutter and filing them down to prevent breaking. Then buff the fingernails to make the nail bed smoother. Polygel application is now possible on your nails.
Select The Appropriate Dual Form Sizes
Take your time to determine the proper sizes of dual shapes for your nail. Keep dual forms on the nails to properly assess the size. You can pick a little larger shape than your natural nail bed, while choosing a shorter one than your natural nail bed may result in fissures and damaged nails. If your fingernails do not suit either of the dual shapes after a lot of attempting to find the ideal match, you may enlarge them. They must also adjust the dual formula using a sharp scissor whose reference area is circular. You could use dual form many times.
Apply The Primer And Base Coat
Begin the application formula now. To preserve the natural nail bed, apply the primer and a light coating of the base coat. Basecoat aids in the correct adhesion of Polygel and boosts the longevity of Polygel nails. Make sure the base coat does not contact the cuticle or the pavement. And then let it air dry.
Squeeze The Polygel Into A Dual Shape And Shape It
Squeeze your choice color Polygel into the dual shape from the Polygel tube. Dip a nail brush into whatever rubbing alcohol you have. It will keep the gel from sticking to the product. Make sure the fingernail brush hasn’t picked up a lot of liquid. By combining with the Polygel, it will cause harm. With the brush, create a dual-form nail form with the Polygel. Make sure the cuticle region and sidewalls are thin while applying the Polygel. You should leave more Polygel in the middle, and that is where the peak will be.
On The Nail, Apply The Dual Shape
Apply the dual form to the nails at a 45-degree angle, a little towards the natural nail’s cuticle, and gently push it in place. Do not exert too much pressure. A small amount of product may flow out from the dual form’s side. Don’t be concerned. With the brush, clean them and gently press the dual shapes toward the cuticle. Don’t forget to use the nail brush to repair the beneath. After carefully making the Polygel, cure it for one minute in the LED and detach the dual form. When applying Polygel to the dual forms, try to keep the cuticle region as thin as possible. As a result, the cuticle region will appear more natural and translucent after application to the nail.
Make The Nails Look Nice
Shape the nail with an E-file. Make all of your nails a similar length and size. File the length first, then the underside to make the underside smooth and flawless. Underneath the nail, there might be a defect or a thick section. Improve the underside of the nails using an E-file. To give your nails a natural form, file the sides and curve of your nails. Make sure you don’t file the regular nail bed; you should file just the Polygel nails. Then buff the top of the nails with a nail buffer to make them clean and lustrous.
Finish With A Top Coat
Clean up any dust that has accumulated as a result of polishing the nails. Then, add a top coat to provide your Polygel nails with a beautiful glossy finish. The Polygel nails will be protected from cracking by the topcoat.
Conclusion
You can see how simple the Polygel with dual forms application technique is. Polygel nail extensions are not usually a less time-taking manicure option. You must carefully put on your nail extension, taking additional time. However, you can rest confident that you will get excellent results if you follow all of the instructions carefully. Polygel has no odor and contains no hazardous ingredients. As a result, you are free to keep them for as long as required.
More Articles On Polygel:
- How To Do Polygel Nails With Tips?
- Drying Polygel Nails – Everything You Need To Learn
- Polygel Vs Builder Gel – All You Need To Know
- Detailed Guide On Polygel Slip Solution Substitute
- Can You Use Polygel Nails Without a UV Light?
- Can You Use Polygel On Bitten Nails?