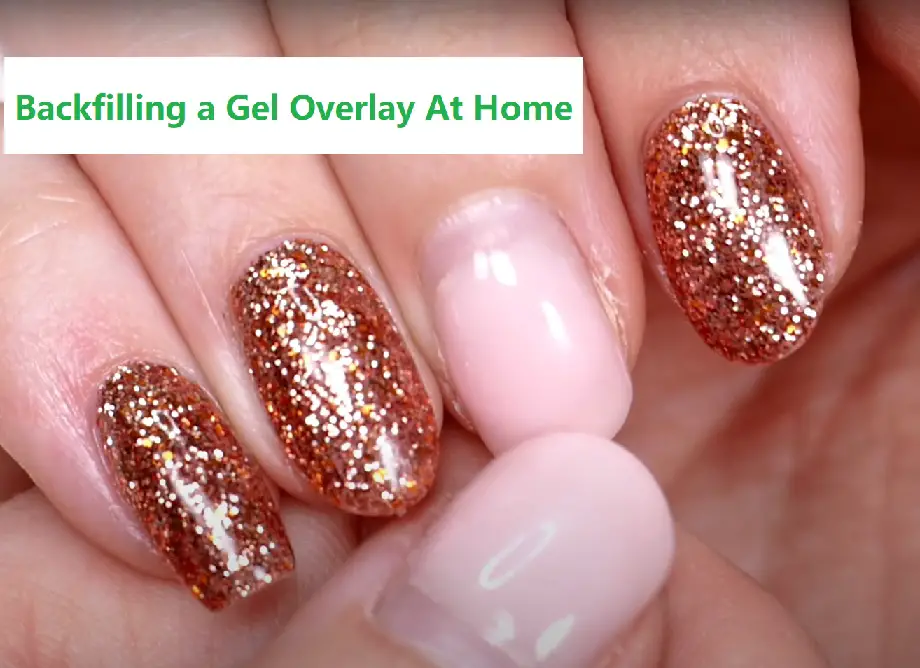
Backfilling gel nails at home is fairly easy and can be done without any hiccups given you are spending enough time prepping the nails. Lifting is a huge issue and beginners often add fresh products over the lifting area while backfilling which results in lifting of the entire product.
I have always had lifting issues on my DIY jobs, and even with professional services, because of my nail composition. But with years of practice and understanding of how the gel system works, I now can assess my nail type and do gel manicures that last for weeks and weeks.
No, you don’t have to be an expert to do a great job at backfilling. If you do the nail prep right, the rest will be taken care of.
Gel Fill Vs. Backfill
Gel nail paint is a favorite manicure choice for a reason: it’s almost durable, shiny, and available at every nail parlor. Gel paints have a firmer grip on the nail than standard nail polishes and can withstand everyday wear and tear.
Gel nail kits, which you can purchase online, make it simple to create your gel manicure. Gel paints and gel manicures have become much more accessible due to this. You do not need to visit the nail salon to get your gel manicure refilled as your nails grow out. It’s something you can do at home!
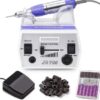
Backfill is a technique that includes cutting off the free edge using an electric file and afterward adding fresh product. You can do it using a French fill diamond bit or a Swiss carbide barrel-shaped bit.
If you have enhancements on your nails, they will need to be maintained. The addition of the product to the new growth region against the cuticle is referred to as a fill. Fillings should be done every two to three weeks, according to experts. Whereas, a backfill visit is advised every four to six weeks and comes with a fill appointment.
How To Backfill Gel Nails?
Step 1
Place the bit’s cutting edge exactly behind the grin line on the nail plate. Carve a depression or trench into the product slightly around where the free edge contacts the nail with the machine set to medium speed. Ensure the bit is level and that you aren’t filing downward to the natural fingernail.
Step 2
Thin the white material on the free edge by around 80 to 90% while keeping the bit straight to the table.
Step 3
Reduce the machine’s speed and smooth out the grin line until it’s smooth and even.
Step 4
Apply a fresh white substance to the nail’s free edge once it has dehydrated. Cure for approximately a minute under a UV ray to set it in place before adding any pink gel.
Step 5
File the pink gel at the front of the growing region until it’s flush with the natural nail’s base, being careful not to file into it. To prevent producing fire rings, keep the bit level with the table and slant the finger down toward the surface.
Step 6
As you might for a typical fill, prepare the new nail growth. Apply and cure pink gel to every nail like a standard fill. Make sure you follow the instructions for the goods you’re using.
Step 7
If required, apply a top coat and cure below a UV lamp.
Conclusion
While the pink-and-white backfill takes longer to apply than a conventional fill, the extra effort spent preparing the nail pays off in the end. The fine polishing and buffing are significantly less complicated because so much care was paid to the nail’s form and the gel’s density during the prep.