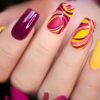
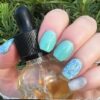
Polygel nails are just what you’ve been looking for if you’ve been dreaming of the ideal manicure that doesn’t involve messing with proportions, mixing, or monomers. This nail technique crosses between gel and artificial nails, yet it is more robust, elastic, and lightweight.
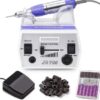
Polygel nails can be attained at home with proper instructions easily because of their nature. However, many nail enthusiasts don’t like the idea of using a nail drill.
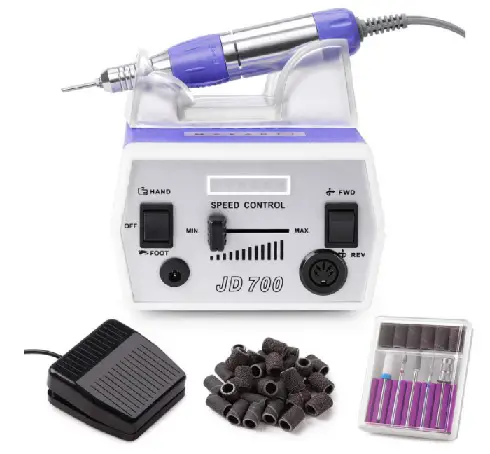
Mainly because there is a common miss conception of nail drill being a damager of nails. With the proper know-how, you can easily avoid hurting your nails with a nail drill.
In the meantime let’s understand if you can do your polygel nails without a nail drilling machine. But let me tell you there is more to the answer than simply “yes” or “no”. So please be patient and read on.
Is A Nail Drill Required For Polygel?
It is easier to perform Polygel extension nails using a nail drill machine since it can shape the gel faster, and it is easier to remove the gel. While a nail drill isn’t necessary for the application, it can help speed things up a little.
Will Polygel Nails fall off soon for not using Nail Drill?
Polygel has a putty texture and is placed on the nails with a flat brush before being polished. It’s pretty adaptable and may be used as a natural nail overlay or molded in the same manner as acrylics can.
However, any nail formulation adheres to a surface better that has friction. And nail drill helps in removing the shininess from your nails with great effectiveness.
So, it might be the case using a nail drill increases the life span of your polygel nails. But interestingly enough you can easily achieve the same friction on your nails if you use a nail buffer.
Buff your nail with great accuracy as it will determine how long-lasting your polygel nails will be. Clearly, a nail drill is not an essential thing.
What Are The Essentials For Polygel Nails?
Because PolyGel is a mix of acrylics and gels, you’ll need items from both categories.
- Acrylic nail brush for PolyGel: It looks like an acrylic nail brush, but the bristles on a PolyGel soft-bristle brush are much shorter. It stiffens the brush, making it simpler to build thick PolyGel.
- Base and top coats: PolyGel nail polish is a gel-based product. As a result, a gel base and top coat are also necessary.
- Colors of PolyGel: Use these if you don’t want to color your PolyGel nails afterward.
- Solutions for nail preparation: To prepare the nail surface for PolyGel application, use a nail dehydrator and a pH-balanced solution.
- A buffer and nail file or an emery board
- A tiny spatula for transferring the Polygel.
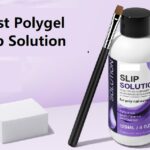
- Cleaning solution for nail brushes: PolyGel’s proprietary nail brush cleaning solution, termed slip solution, is created in-house. To remove PolyGel from a nail brush, use this solution.
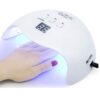
- A UV-LED nail lamp.
How to Apply Polygel without a Nail Drill?
- Begin by cleaning and degreasing your nails. Buff the surface of your nails lightly.
- Apply a layer of the base coat and cure it with an LED bulb. It’s going to be sticky! Wipes aren’t required.
- For each nail, choose an appropriate size and shape artificial nail tip.
- Push the poly gel out from the tube and cut it off, and spread it into the artificial nail with the scraper end of the pen.
- Using the brush end of the pen, pat the Polygel into position for the length you wish. Use the base coat gel to smooth this out for improved uniformity!
- Carefully push the artificial nail onto your natural nail when you’re done. Cure with an LED lamp.
- To snap off and remove the artificial nail tip, lift a corner.
- Trim, shape, buff, and paint your nails to get the desired aesthetic.
- Apply a top coat and cure under an LED bulb.